This the third post in our four-part series on video shooting etiquette (if you missed the previous posts, you can catch them here). Now, it’s time to start shooting your course video.
This is where the magic begins! After checking if all equipment and gear are in order, we start shooting according to the list we prepared in the previous post. This is where all your hectic planning pays off, provided everything goes as per schedule.
Before the shoot begins, makes sure you have communicated your vision to the entire crew so that everyone is on the same page. This includes a review of each scene just before filming.
Here’s a quick checklist to consult while preparing for your shoot:
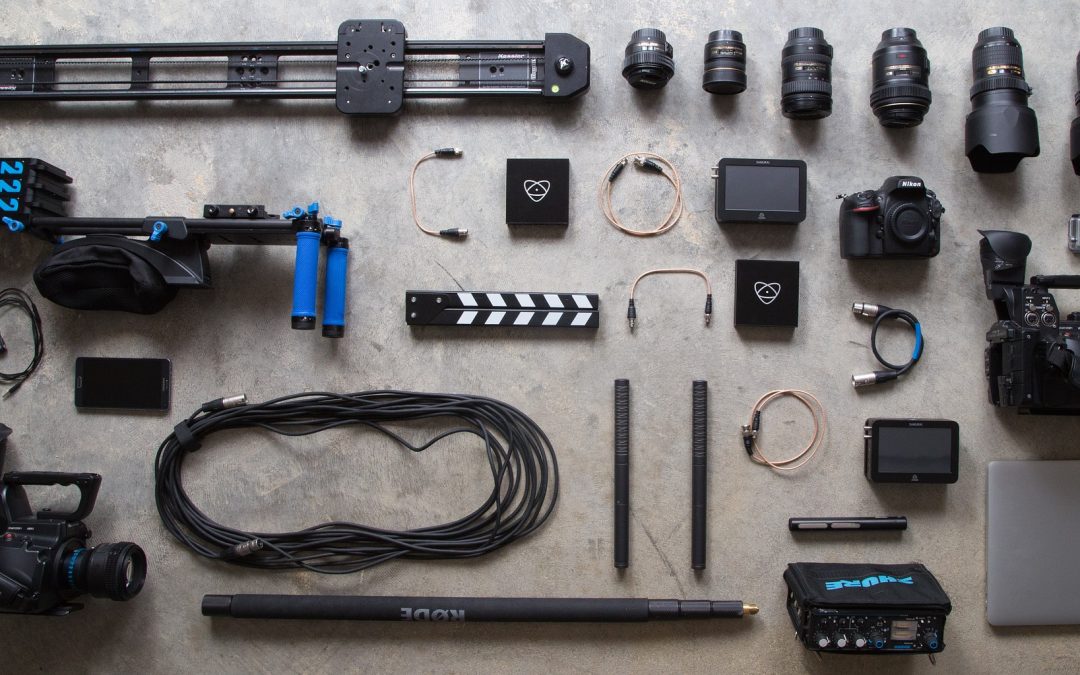
Equipment set-up (computer, cameras, Wacom tablets, microphones): In a typical MOOC video, the professor looks into the camera and delivers the lectures. Sometimes, they use a Wacom tablet to draw annotations. Before you start shooting the video, make sure the script is fed into the teleprompter.
Background: It’s important to discuss what type of background the course video needs. Faculty members can film in front of a green screen, a printed backdrop, an LED lightboard, or any other custom set (depending on the content).
Wardrobe selection: Be sure to plan your wardrobe in advance. If you’re filming in front of a green screen, don’t wear green – you’ll disappear! Black, white, and red can also be tricky colours for a video shoot. Avoid clothing with large patterns or shapes – these can take the viewers’ attention away from your face. Stay away from wearing flashy or rattling jewelry; it can reflect light and create unwanted noise.
Buy, create, or build props: Depending on the video you’re going to shoot, you might want to build a set that serves as the background. You can find props and furniture at little to no cost or you can create them as necessary.
Order or purchase supplies and equipment: Sometimes, you may have to buy or rent out some studio equipment. Ensure that you have your equipment a week before your shoot, and purchase it from a reliable company.
Monitor: A video monitor is set up near the camera. The team uses this screen to view the recording live and ensure that all components are visible and framed properly. The video monitor serves as a preview screen and ensures better footage.
Confirmation email: A few days before the shoot, one member of the course content team sends out a confirmation email. In this email, the camera team is introduced to the faculty member. Everyone is given an idea of when to arrive, where to arrive, and what to expect.
These tips might seem a little overwhelming but doing a little extra to prepare for your shoot can go a long way in making the whole process easier and more enjoyable. And remember, if there are any errors that take place while shooting, they can always be fixed in editing.
Our final post in this series will be out in a few days. Keep watching this space for more content like this!
[This post was written by Srikanth Bade, Video Lead, IIMBx]